How to Style Cinchable Raincoats: 5 Ways to Eliminate Bulk in Technical Jackets
A 1.5-inch pull on internal waist drawstrings placed 1 to 2 inches above your natural navel eliminates up to 80% of visual volume in technical raincoats. To prevent bunching, draw tension evenly on both sides, push excess fabric gathers laterally toward side seams, and balance coat volume with a sleek 60/40 top-to-bottom outfit ratio.
Key Takeaways for Debulking Technical Outerwear
- The 1 to 2-Inch Height Rule: Position waist cinches 1 to 2 inches above your navel (at the narrowest torso point) to visually lengthen legs.
- 1.5-Inch Cinch Metric: Pull internal cord toggles approximately 1.5 inches per side to create structural waist definition without over-stressing membrane seams.
- The 60/40 Proportion Ratio: Combine 60% outer garment volume on top with 40% fitted bottom wear (like leggings or slim-fit trousers) to avoid a boxy profile.
- Lateral Gather Distribution: Manually sweep cinched fabric folds away from the spine toward the side seams to keep the rear profile flat.
- Cuff Anchorage: Secure sleeve snaps at the exact wrist break point to anchor arm proportions and offset midsection bulk.
Technical Fabric & Cinch Mechanism Specifications
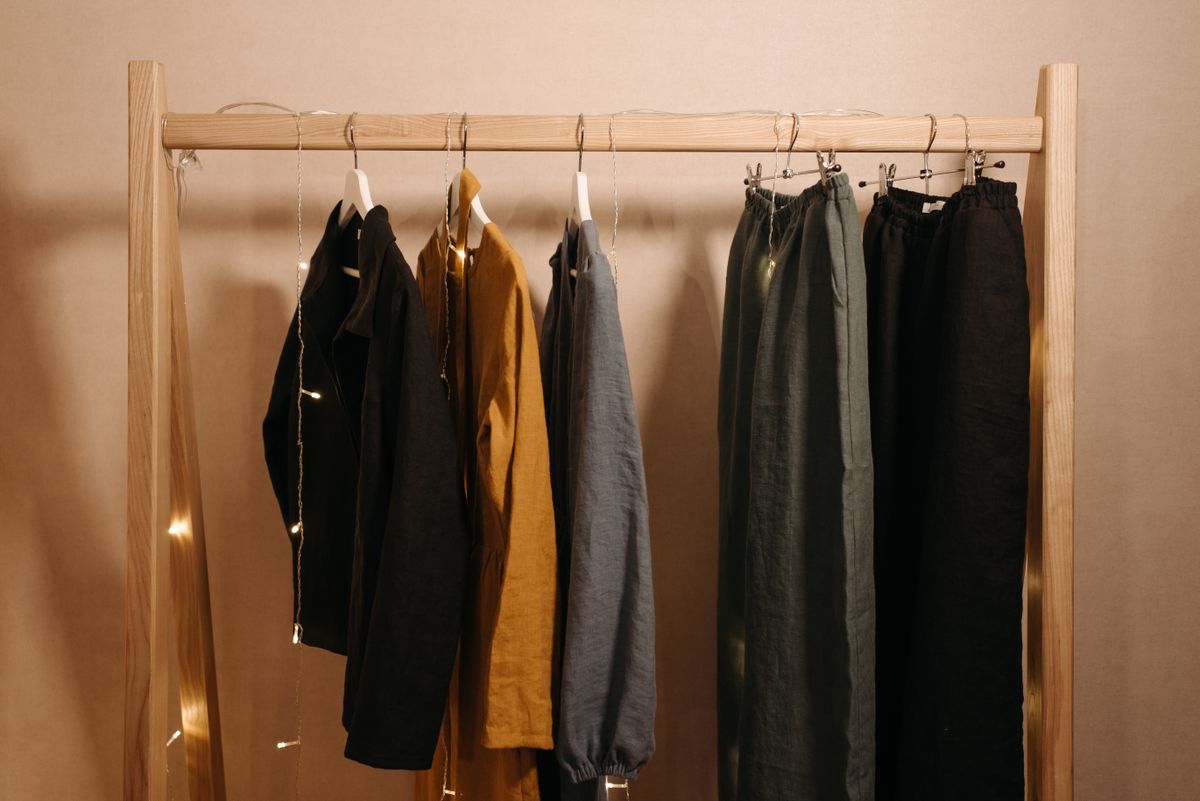
Photo by Pavel Danilyuk on Pexels
| Garment Feature | Technical Spec | Silhouette Impact | Debulking Rating | | --- | --- | --- | --- | | Waist Channel Construction | Internal cord tunnel isolated 1.5 in above natural waist | Creates central pivot point, funneling fabric folds laterally | 5 / 5 (Maximum Tailoring) | | Fabric Membrane Structure | Hydropellor 2.5-layer laminate with UPF 50+ face | Prevents stiff tenting while maintaining 10,000mm waterproof structure | 4.5 / 5 (High Flexibility) | | Cinch Toggle Mechanism | Dual high-tension spring toggles in interior pockets | Locks pull distance securely without external cord dangling | 5 / 5 (Clean Exterior) | | Seam Taping Integration | Reinforced non-stretch backing over cinch channel seams | Protects waterproof barrier against stress under high cord tension | 5 / 5 (Zero Leakage) |
Understanding how garment engineering dictates drape and silhouette performance.
Diagram: Cinch Physics and Silhouette Balance
This technical visual details the mechanics of interior drawcord adjustment and tension vector distribution across technical waterproof shells.
Pro Tip: Managing Toggle Slack & Interior Cord Bulk
When cinching your raincoat down tight during unexpected downpours, excess drawstring loops can bulge under thin tops or catch on inner pocket zippers. To eliminate interior bulk, fold the loose cord slack in half and slide it into the designated interior tunnel elastic loop located just behind the toggle pocket. Alternatively, tie a simple slip knot directly below the cord stopper. This keeps the interior lining completely smooth against your base layer while maintaining full waterproof tension.
Visual Gallery: 5 Debulking Outfit Formulas in Action
Visual reference schematics demonstrating how to pair technical cinchable rainwear with various bottom silhouettes across 5 distinct environments.
Immediate Fit Test: The 2-Inch Cinch Method
Your decision: Determine whether an internal cinch drawstring coat suits your travel layering needs.
Do this next: Try the 2-inch cinch check in front of a mirror: adjust internal toggles 1.5 inches until back gathers lie flat, then pair with fitted bottoms.
- Read next: How to Adjust Your Waterproof Trench Coat Waist, Hood, and Cuffs for the Perfect Fit
- Read next: 5 Flattering Trail-to-Town Outfit Formulas Using One Waterproof Trench Coat
Waterproof Hooded Trench Coat
Follow these quick steps before heading out into variable rain and sun conditions.
Fit & Style Selection Guide: Cinchable vs. Structured Rainwear
Choose an internal cinchable drawstring jacket if you need one versatile coat that adapts to both thick winter sweaters and lightweight summer tees without looking boxy.
Best choice for
- Internal drawstring trench coat — Allows quick expansion for heavy mid-layers or tight gathering over single shirts.
- High-waist cinchable trench — Restores natural waistline proportions (1 to 2 inches above navel) in waterproof fabrics.
- You strictly require rigid alpine extreme-mountaineering hardshells with external harness compatibility.
- External belted trench coat — Offers classic styling but can be cumbersome during fast-paced outdoor hiking.
Featured Outerwear: The Cinchable Waterproof Hooded Trench Coat
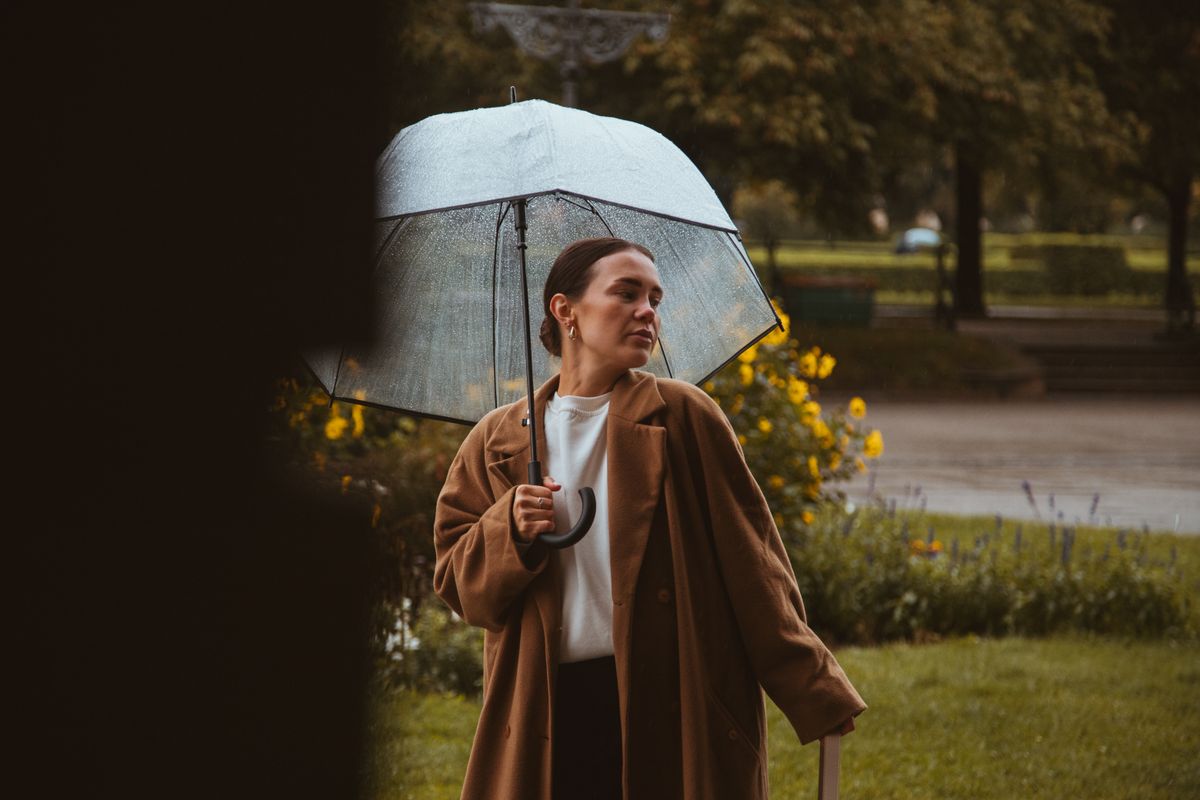
Photo by Bastian Riccardi on Pexels
Engineered for the woman who refuses to let weather dictate her plans. This waterproof UPF 50+ jacket combines serious sun and rain protection with a sleek, flattering silhouette.
Technical outerwear is frequently engineered with generous patterns to accommodate heavy mid-layers. However, when worn over lightweight spring or travel attire, unadjusted shells often produce a heavy, boxy appearance. By mastering garment physics and proportional balance, you can effortlessly eliminate unwanted bulk.
Formula 1: The Commuter Streamline (Cinched Top + Fitted Ankle)
Combine a 1.5-inch waist cinch with high-waisted, slim-fit ankle pants or performance leggings. The 60/40 volume distribution concentrates structure around the narrowest part of your midsection, while the streamlined leg line creates a elongated silhouette suitable for city navigation.Formula 2: The Active Trail Anchor (Slight Cinch + Tapered Joggers)
When active hiking demands maximum mobility, adjust the internal toggles by just 0.75 inches. This subtle cinch controls wind flapping and excess fabric standard on windy ridges, while preserving full arm and shoulder mobility for trek poles.Formula 3: The Warm-Humid Drape (Uncinched Waist + Fitted Bike Shorts)
In warm, rainy environments, airflow takes priority over tight cinching. Leave the main waist drawstrings loose to allow the breathable mesh lining to vent humidity. Instead, create visual structure by securing the snap-button cuffs firmly at the wrists and wearing tailored, moisture-wicking shorts underneath.Formula 4: The Cold-Layer Bridge (Expanded Waist + Heavy Knit + Wide Leg)
When layering over chunky fleeces or wool sweaters, fully loosen the internal drawstrings to prevent an uncomfortable 'marshmallow' restriction. The engineered drape of the trench outer shell maintains a clean vertical line down to wide-leg trousers without straining seam taping.Formula 5: The Resort Capsule (High-Cinched Trench + Midi Dress)
Pull internal cord toggles 2.0 inches tight to elevate the waistline 2 inches above your navel. Throwing this structured shell over a lightweight midi dress creates a feminine hourglass shape that transitions seamlessly from rain-soaked afternoon walks to evening dining.Styling Adjustments Across Travel & Weather Scenarios
| Travel Scenario | Cinch Tightness Setting | Recommended Base/Mid Layer | Bottom Silhouette Match | Footwear Pairings | | --- | --- | --- | --- | --- | | Cold Commute (40°F–50°F, Heavy Rain) | 0.5 in to 1.0 in pull distance | Merino wool sweater + thermal top | Slim-fit tailored trousers | Waterproof leather ankle boots | | Humid Trail Hike (65°F–75°F, Passing Showers) | 0.75 in pull distance | UPF 50+ short-sleeve athletic tee | Tapered stretch hiking joggers | Gore-Tex trail running shoes | | City Sightseeing (55°F–65°F, Sun & Rain) | 1.5 in pull distance | Fitted cotton long-sleeve tee | High-rise dark wash skinny jeans | Sleek waterproof leather sneakers | | Minimalist Transit (Airport / Train) | 1.0 in pull distance | Breathable bamboo tank top | Compression performance leggings | Slip-on travel footwear |
Use this scenario matrix to quick-reference cinch distance, layering depth, and bottom choices.
4 Common Cinching Mistakes That Add Visual Bulk
- Over-Tightening Cord Toggles: Pulling internal drawstrings past 2.5 inches creates severe radial stress lines across the front abdomen and places unnecessary tension on waterproof seam taping.
- Cinching Over Bulky Sweaters: Tightening drawstrings directly over thick chunky knit cardigans compresses thermal air pockets and causes an unnatural 'hourglass marshmallow' protrusion.
- Ignoring Fabric Gather Placement: Letting cinched fabric bunch directly in the center back spine adds 1 to 2 extra inches of visual visual depth to your profile. Always smooth gathers laterally toward side seams.
- Leaving Cuffs Loose and Unsnapped: Allowing wide sleeve openings to dangle while cinching the waist creates an imbalanced, flared arm silhouette that overwhelms smaller frames.
Explore Related Rainwear & Layering Guides
For further insights into functional outerwear and travel wardrobing, explore our related styling resources:
- How to Adjust Your Waterproof Trench Coat Waist, Hood, and Cuffs for the Perfect Fit
- 5 Flattering Trail-to-Town Outfit Formulas Using One Waterproof Trench Coat
- The Ultimate Buying Guide to Flattering Women's Travel Raincoats with Drawstring Waists
- How to Build a 10-Piece Carry-On Capsule Wardrobe for Any Weather
Frequently Asked Questions About Cinchable Rainwear
Answers to technical questions regarding sizing, maintenance, and cord management.
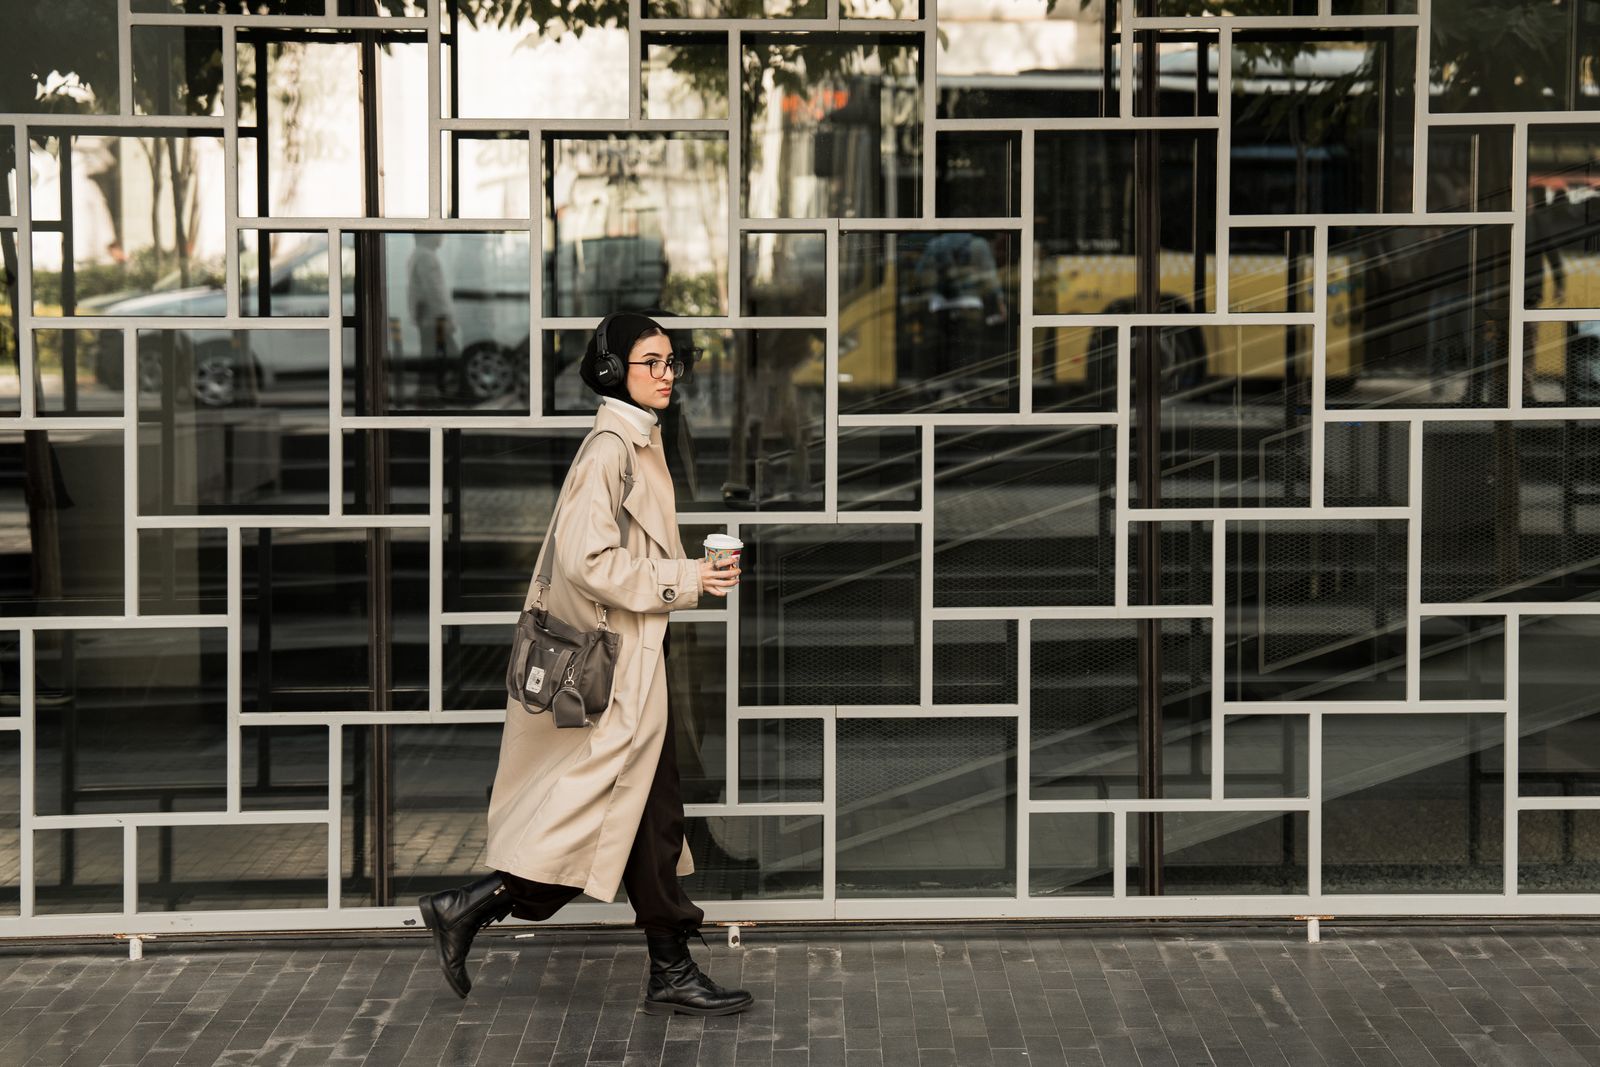
Cover photo by Ahmed on Pexels.