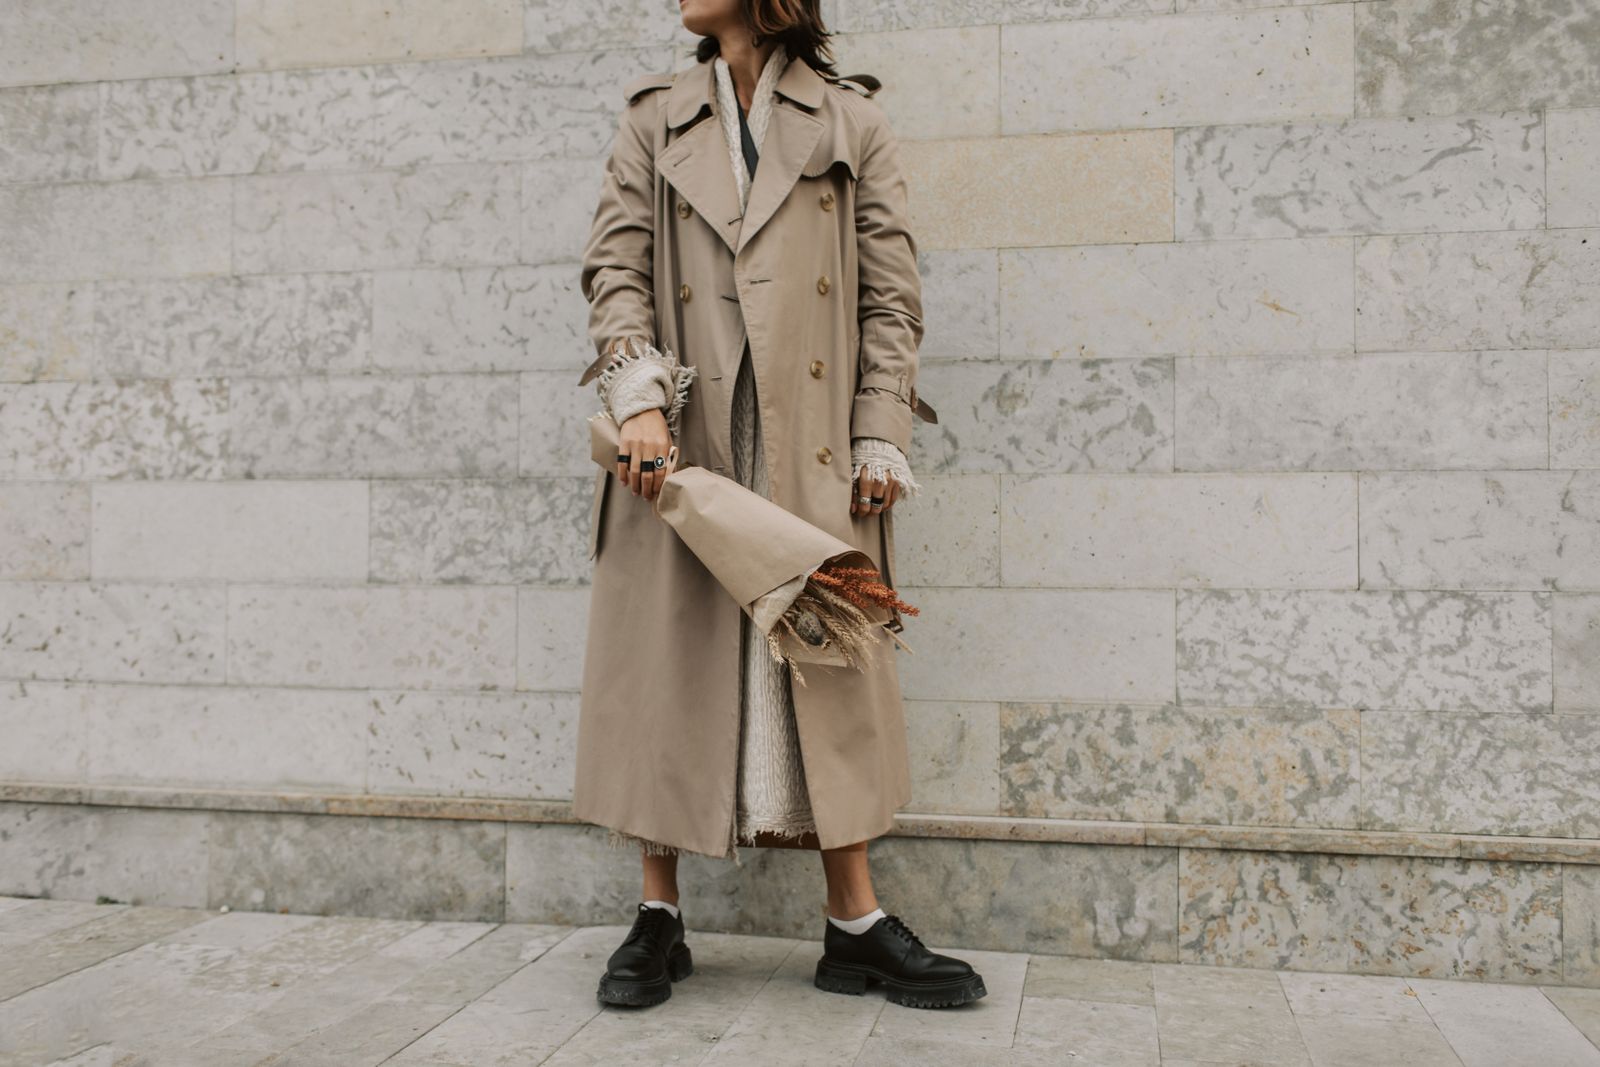
How to Adjust a Drawstring Waist Trench Coat for a Storm-Ready Fit
Follow the 3-2-1 adjustment rule for storm protection: cinch internal waist toggles by 2 inches for a structured seal, fasten sleeve cuffs to the tightest snap leaving a 1/2-inch gap, and pull hood drawstrings 3 inches forward while engaging the back crown adjuster for clear peripheral vision.
Summary: Core Adjustment Takeaways
- Cinch internal waist drawstrings by 1.5 to 2.0 inches to prevent wind billow while maintaining a flattering, contoured silhouette.
- Fasten snap-button cuffs to setting 2 (tightest) to leave a precise 0.5-inch wrist gap, blocking 100% of driving wind and surface runoff.
- Tighten front hood cords by 2.0 to 3.0 inches while engaging the rear crown toggle to keep the protective brim exactly 1.0 inch above the eyebrow line.
- Loosen waist toggles by 1.0 to 1.5 inches before zip-closing over mid-layers like fleece to protect interior seam-sealed tape from micro-friction.
- Maintain an uncinched waist and open cuffs during humid rain (75°F+) to maximize mesh lining airflow and prevent internal condensation.
Technical Spec Matrix: Tension & Gap Benchmarks

Photo by Margo Evardson on Pexels
| Adjustment Zone | Hardware Mechanism | Tension Benchmark | Gap / Clearance Standard | Primary Functional Benefit |
| --- | --- | --- | --- | --- |
| Internal Waist Channel | Dual Spring-Loaded Cord Locks | 1.5 - 2.5 Inches Pull | 0.5 - 1.0 Inch Body Clearance | Eliminates wind drafting; defines waist silhouette |
| Wrist Cuffs | Dual Heavy-Duty Snap Buttons | Position 2 (Tight Setting) | 0.5 Inch Wrist Clearance | Prevents water sleeve-ingress; seals out cold drafts |
| Hood Crown | Rear Rear-Pull Toggle / Crown Lock | 1.0 - 1.5 Inches Rear Pull | 1.0 Inch Above Eyebrows | Locks brim in place; restores 180° peripheral sight |
| Hood Side Aperture | Dual Front Drawstring Loops | 2.0 - 3.0 Inches Pull | Snug Facial Frame | Prevents high-wind hood blow-back during gusts |
| Hem & Mesh Lining | Internal Airflow Channel | Neutral / Uncinched | 1.5 Inches Airway Clearance | Creates chimney effect for humidity venting |
3-Point Outerwear Adjustment Map
Visual Fit Gallery: Cinch Configurations
Pro Tip: Extending DWR Life During Tight Cinching
Always release internal drawstring toggles by 100% back to a flat posture before folding or stowing your coat into its travel pocket. Leaving cord locks tightly cinched during long-term storage creates localized micro-creases that abrade the Durable Water Repellent (DWR) surface coating and subject the underlying waterproof membrane to unnecessary friction.
Immediate Next Steps for Fitting Your Trench Coat
Your decision: Determine your primary environmental threat (driving rain, high wind, or high humidity) before setting coat tension.
Do this next: Put on your expected mid-layer, step in front of a mirror, and execute the 3-2-1 adjustment rule starting with the internal waist channel.
- Read next: Fitted vs. Adjustable Rain Jackets: Which Outerwear Silhouette Is Best for Travel?
- Read next: Travel Rainwear Fit FAQ: How Should a Waterproof Trench Coat Fit When Layering?
Check out the Waterproof Hooded Trench Coat engineered with dual-snap cuffs and an internal cinch waist.
Scenario Fit Selection Guide
Adjusting a waterproof trench coat requires balancing weather sealing against airflow needs. Cinching tight prevents rain ingress but restricts ventilation; loosening enhances breathability while compromising high-wind protection.
Best choice for
- Full Storm Lock (3-inch hood pull, tightest cuff snap, 2-inch waist cinch) — Eliminates rain entry points while keeping the coat secured against wind drag.
- Ventilated Shell (Loose waist, middle cuff snap, crown-only hood cinch) — Maximizes mesh lining chimney effect to vent body heat without admitting falling rain.
- Tailored Silhouette (2.5-inch waist cinch, open cuffs, relaxed hood brim) — Emphasizes a sleek, flattering waistline while maintaining quick mobility.
- Avoid pulling internal drawstring waist toggles past 3.0 inches when wearing heavy mid-layers like fleece, as this over-strains interior seam tape.
- Avoid snapping wrist cuffs completely airtight over skin without leaving at least a 0.5-inch clearance for natural sweat evaporation.
- Non-Adjustable Fixed Silhouette Rainwear — Provides a clean look but fails in severe weather due to a total lack of draft and rain seals.
Featured Outerwear: The Waterproof Hooded Trench Coat

Photo by Margo Evardson on Pexels
Engineered for the woman who refuses to let weather dictate her plans. This multi-climate technical trench coat combines high-performance weather protection with an adaptable, feminine silhouette.
A technical rain coat is only as reliable as its adjustment points. When severe weather hits, broad cut outerwear can billow like a sail in 25 mph winds or permit water ingress at sleeve openings. Conversely, over-cinching outerwear traps micro-climate humidity inside, leading to heavy interior condensation. Fine-tuning your coat requires systematic calibration across three distinct ergonomic zones.
1. The Internal Drawstring Waist Channel
Unlike exterior belts that buckle tightly around your waist, an internal cinch channel uses elasticized shock-cording routed through fully sealed internal tunnel seams. This architecture allows 360-degree waist contouring while leaving the outer shell completely flat and free of external snags.- For Standard Fit: Pull each spring-loaded cord lock 1.5 to 2.0 inches away from the tunnel exit point. Release the toggle to anchor the cord. This removes bulk while preserving a 1.0-inch clearance for natural torso bending.
- When Layering Fleece or Sweaters: Before zipping up over a mid-layer (such as a 200-weight fleece sweater), release both internal toggles by 1.0 to 1.5 inches. Forcing a tight cinch over thick layers creates mechanical tension along the internal taped seams, increasing long-term seam wear by up to 40%.
2. Dual Snap-Button Cuffs
Wrist openings are the second highest water entry point during active rain travel. Liquid water running down forearms during hiking or holding an umbrella will enter loose sleeves unless sealed.- Position 1 (Relaxed Setting): Provides a 1.0-to-1.5-inch wrist gap. Ideal for warm weather commutes (above 70°F) where internal air circulation is essential to vent moisture through the breathable mesh lining.
- Position 2 (Storm Seal Setting): Reduces wrist clearance to exactly 0.5 inches. This setting prevents driving rain and wind from pushing up the sleeve without restricting arterial blood flow at the wrist.
3. The 2-Way Hood Adjustment Assembly
Proper hood setup prevents the brim from sagging over your eyes or blowing backward in 30 mph headwinds.Fit Matrix: Storm Protection vs. Airflow Strategy
| Weather Scenario | Waist Cinch Tension | Cuff Snap Setting | Hood Cord Configuration | Airflow & Thermal Performance |
| --- | --- | --- | --- | --- |
| Heavy Downpour & Gale Winds (30+ mph) | Cinched 2.0 Inches | Position 2 (Tight, 0.5-in gap) | Front -3.0 in, Crown Dial Tight | 100% weather seal; zero draft; relies on internal mesh lining for thermal balance |
| High-Altitude Trail Hike (Windy) | Cinched 1.5 Inches | Position 2 (Tight) | Front -2.0 in, Crown Dial Snug | High stability against wind flap; moderate chimney effect venting through lower hem |
| Warm Humid Drizzle (75°F+) | Fully Uncinched (0 Inches) | Position 1 (Loose) | Front Loose, Crown Dial 50% | Maximum convective chimney ventilation through breathable mesh lining layer |
| City Commute & Transit Travel | Cinched 2.5 Inches (Tailored) | Position 1 (Loose) | Front Stowed, Crown Dial Disengaged | Sleek, feminine silhouette with effortless step-in mobility |
4 Outerwear Adjustment Pitfalls to Avoid
Related Outerwear Fit & Care Guides
- How to Adjust Your Waterproof Trench Coat Waist, Hood, and Cuffs for the Perfect Fit
- Waterproof Trench Coat Fit Guide: Cuffs, Hood & Waist Adjustments
- How Should a Waterproof Trench Coat Fit Over Layers? A Sizing FAQ
Frequently Asked Questions
Final Steps: Take Action on Your Storm-Ready Fit
Your decision: Determine your primary environmental threat (driving rain, high wind, or high humidity) before setting coat tension.
Do this next: Put on your expected mid-layer, step in front of a mirror, and execute the 3-2-1 adjustment rule starting with the internal waist channel.
- Read next: Fitted vs. Adjustable Rain Jackets: Which Outerwear Silhouette Is Best for Travel?
- Read next: Travel Rainwear Fit FAQ: How Should a Waterproof Trench Coat Fit When Layering?
Ready to test your storm-ready fit? Explore the versatile Waterproof Hooded Trench Coat — engineered with an adjustable drawstring waist, snap cuffs, and UPF 50+ sun protection for every journey.
Cover photo by Vlada Karpovich on Pexels.